Fade an Image to Color in Photoshop Faster with Live Gradients

How to fade an image to any color with Photoshop
Here are the steps to fade an image to any color using the Gradient Tool and the new Live Gradients.
See Also:
- Learn more about Live Gradients in Photoshop
- Find Photoshop’s Missing Gradients, Patterns and Shapes
- How to Color Grade Images with Gradient Maps
Step 1: Create a new Photoshop document
Start by creating a new document.
If you are on the Home Screen, click the New file button.

Clicking “New file” on the Home Screen.
Or from the main Photoshop interface, go up to the File menu and choose New.

Choosing File > New from the Menu Bar.
In the New Document dialog box, enter the settings for your document.
For this tutorial, I’ll set:
- The width to 3000 pixels
- The height 1600 pixels
- The resolution to 300 pixels/inch
- The background contents to white
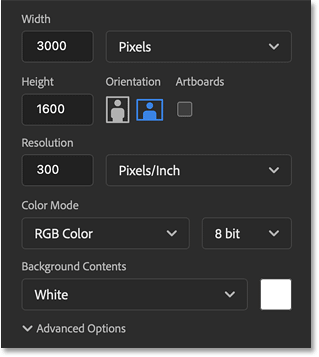
The new document settings.
Then click the Create button.
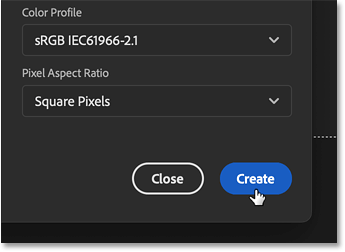
Clicking “Create”.
The new document appears.
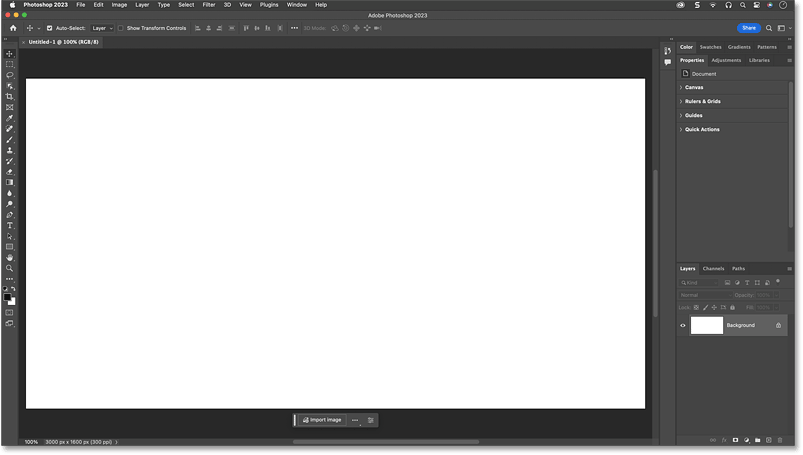
The new Photoshop document.
Step 2: Place your image into the document
To add your image to the document, go up to the File menu and choose Place Embedded.
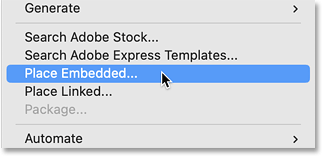
Going to File > Place Embedded.
Navigate to where the image is saved on your computer.
Click on the image to select it, then click Place.
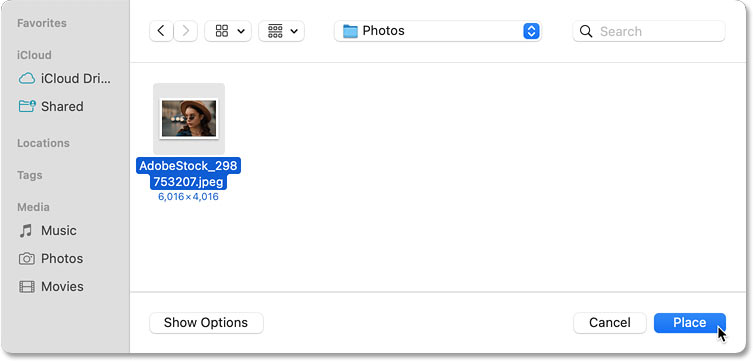
Selecting the image to place into the document.
Photoshop places the image in the document and resizes it to fit if needed (portrait photo from Adobe Stock).
Leave the Transform box open because we’ll reposition the image next.
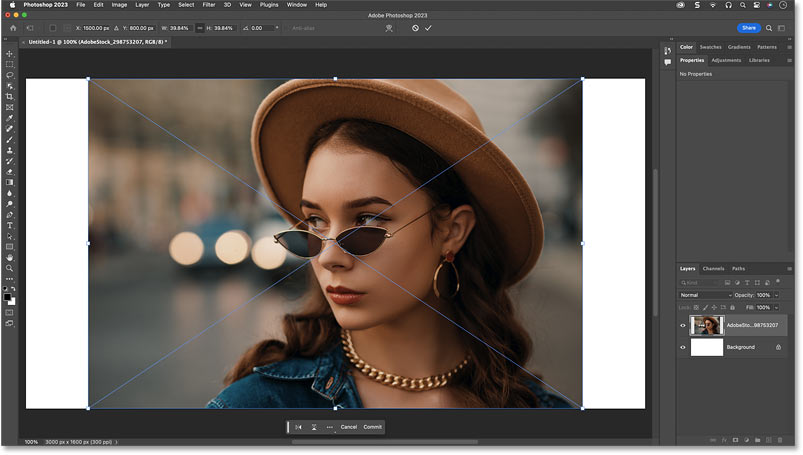
The image placed into the document.
Related tutorial: Opening vs Placing an Image in Photoshop
Step 3: Reposition the image on the canvas
Add more room for the color area by clicking inside the Transform box and dragging the image left or right to reposition it on the canvas.
Hold Shift on your keyboard to drag horizontally.
I’ll drag my image over to the right, making more room for the color on the left.
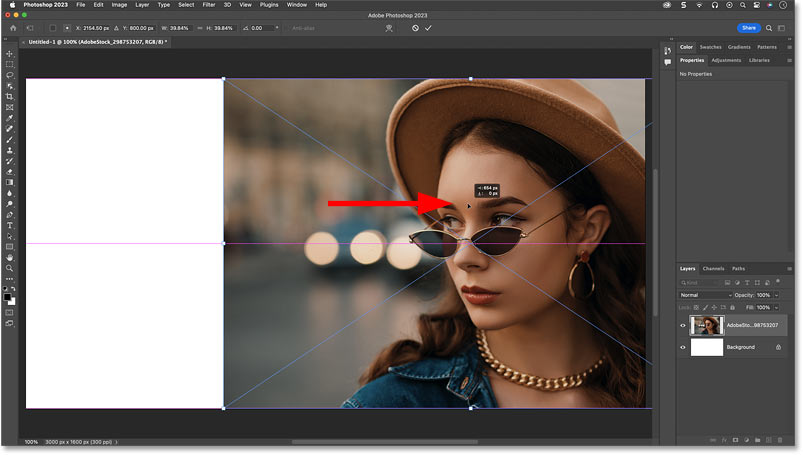
Dragging the image to one side of the canvas.
Then click the check mark in the Options Bar to accept it.

Clicking the check mark.
In the Layers panel, the image appears on its own layer above the Background layer.
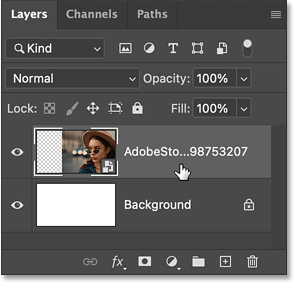
The Layers panel showing the new image layer.
Related tutorial: How to Extend an Image with Generative Expand
Step 4: Select the Gradient Tool
To fade the image to color, we’ll use a live gradient which is a new feature in Photoshop 2023.
Two big advantages of live gradients over Photoshop’s traditional gradients are that they give us a preview of the gradient as we draw it and we can edit the gradient after we draw it.
Select the Gradient Tool from the toolbar.

Selecting the Gradient Tool.
Then to draw a live gradient, make sure that the Tool Mode in the Options Bar is set to Gradient, not Classic gradient.
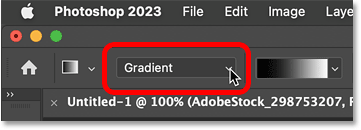
Setting the Gradient Tool mode to Gradient.
Step 5: Choose the Foreground to Transparent gradient
Still in the Options Bar, click the gradient swatch.

Clicking the gradient swatch.
In the Gradient Preset picker, twirl open the Basic folder and choose the Foreground to Transparent gradient (the thumbnail in the middle).
Then press Enter on a Windows PC or Return on a Mac to close the preset picker.
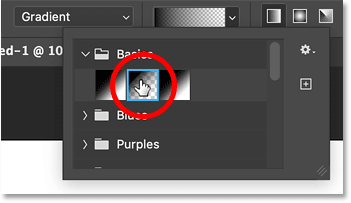
Selecting the Foreground to Transparent gradient.
Also make sure that:
- The gradient style is set to Linear
- Reverse is unchecked
- Dither is checked
- Method is set to Perceptual
We’ll come back to the Method option after we draw the gradient.

The other Gradient Tool settings.
Step 6: Choose your color
Back in the toolbar, click on the Foreground color swatch which is set to black by default.

Clicking the Foreground color swatch.
In the Color Picker, choose a color to fade the image into.
I’ll choose white for now (with the R, G and B values all set to 255) but we’ll come back and change the color later.
Then click OK to close the Color Picker.
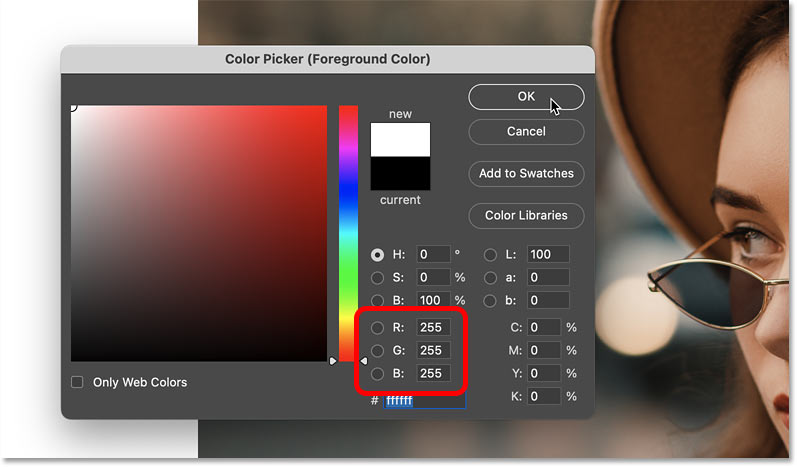
Setting the Foreground color to white.
Step 7: Draw the gradient across the image
Click and hold on the image to set a starting point for the gradient.
I’ll click just inside the left edge of my image. I want everything to the left of this point to be filled with my Foreground color (white).
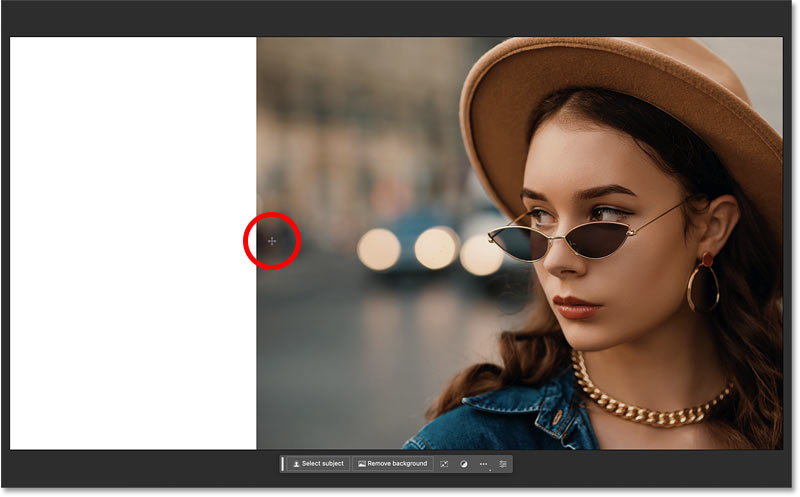
Click and hold to set the gradient starting point.
Keep your mouse button held down and drag away from that point to draw the gradient. Hold Shift on your keyboard as you drag to draw the gradient horizontally.
Photoshop displays a preview of the gradient as you draw it, making the transition area between the color and the image easy to see.
Don’t worry about getting things exactly right because we’ll adjust the gradient after we draw it.
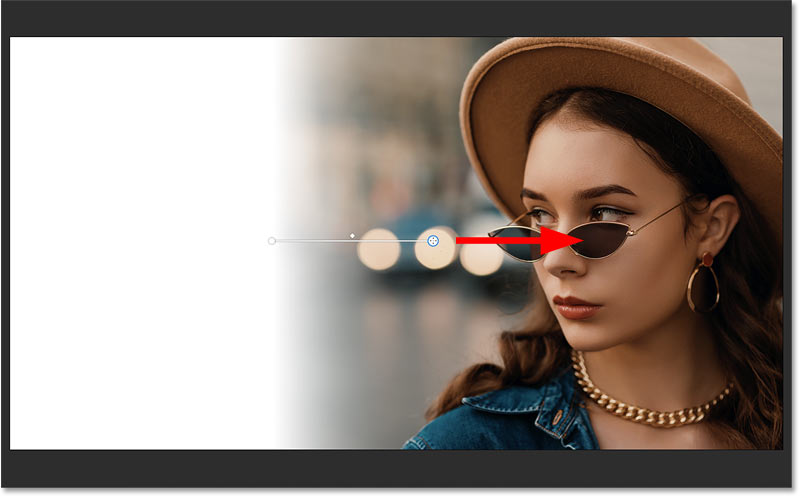
Live gradients show a preview of the gradient as you drag.
To complete the gradient, release your mouse button, then release the Shift key.
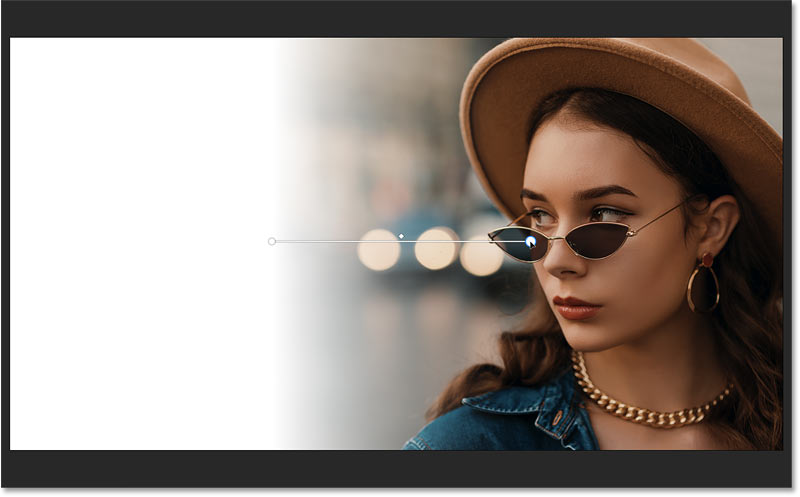
The initial gradient fading from the image to the color.
Back in the Layers panel, the gradient appears on its own Gradient Fill layer above the image, which keeps the gradient and the image separate.
As we’ll see next, we can edit the gradient now that we’ve drawn it.
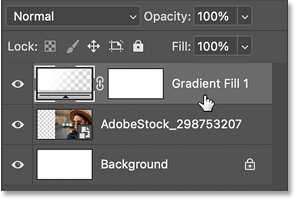
Live gradients get their own Gradient Fill layer.
Step 8: Adjust the start and end of the fade
Notice the color stop on either end of the gradient.
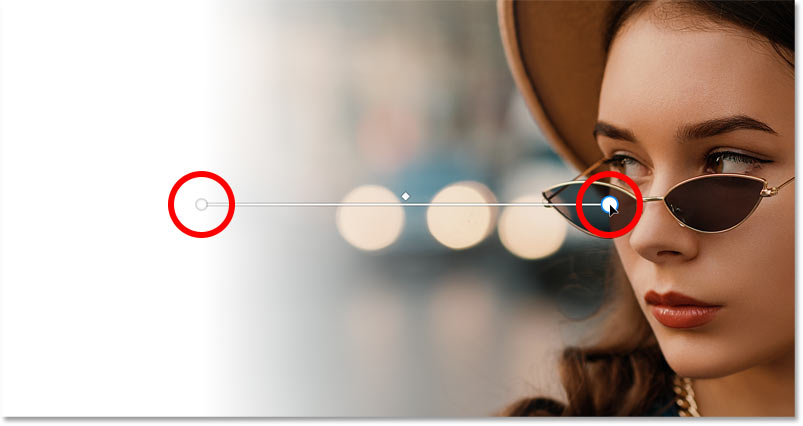
A color stop appears at the start and end of the fade.
You can drag these color stops to adjust where fade from the color to the image begins and ends.
Hold Shift as you drag to move the stop horizontally.
Here I’ve made the fade area more narrow by dragging the stops closer together.
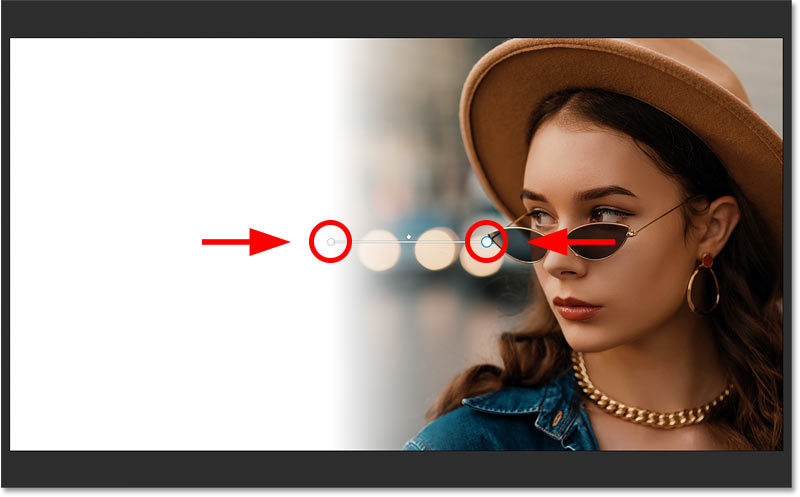
Dragging the color stops to adjust the start and end points of the fade.
Step 9: Adjust the smoothness of the fade
If the fade between the color and the image is not as smooth as you would like, go to the Properties panel and try a different Method option.
Method controls how Photoshop displays colors in the gradient. The default method, Perceptual, tries to match how our eyes perceive colors and is usually the best choice when working with gradients.
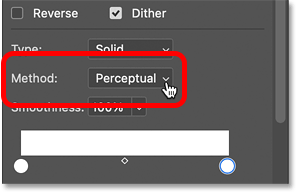
The gradient method option in the Properties panel.
But with my image, notice that the area where the white begins to fade looks a bit harsh.
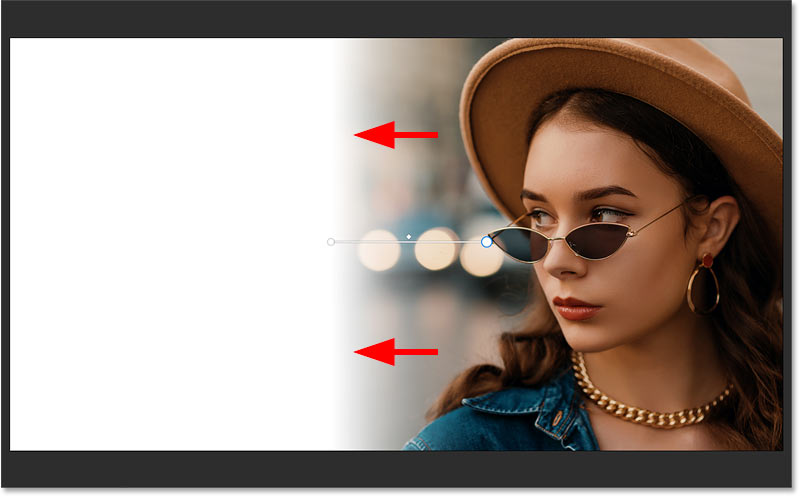
The gradient with Method set to Perceptual.
Switching to a different method can sometimes help to smooth things out.
For example, I’ll try Classic which displays colors as they would appear in older Photoshop versions.
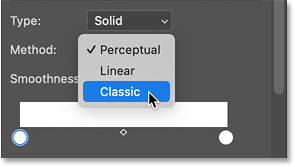
Changing the method to Classic.
And now the fade looks a bit more gradual.
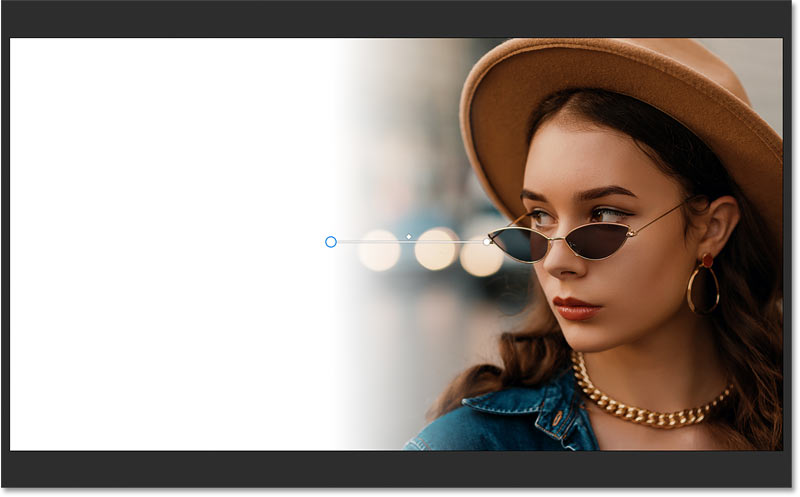
The result with Method set to Classic.
Step 10: Adjust the midpoint of the fade
Also in the Properties panel, you can adjust the midpoint of the fade.
Scroll down to the Opacity controls. You may need to twirl them open.
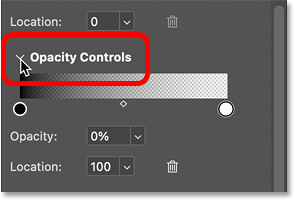
The Opacity Controls in the Properties panel.
Then to adjust the midpoint, click and drag the diamond icon below the opacity preview bar. This moves the midpoint closer to the color or to the image.
You won’t always need to adjust the midpoint, but the option is there if you do.
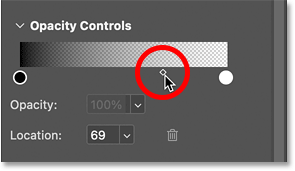
Dragging the diamond to adjust the midpoint of the fade.
To reset the midpoint back to the middle, set the Location to 50 percent.
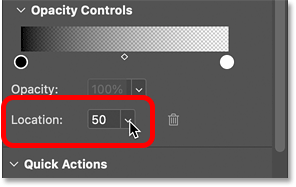
Resetting the midpoint location to 50 percent.
Step 11: Choose a different color (optional)
Finally, to change the color that the image is fading into, double-click on its color stop.
Make sure to choose the stop for the color, not the stop for the transparency. In my case, the stop I need is the one on the left.

Double-clicking on the color stop to change the color.
Then one way to choose a new color is from the Color Picker itself.
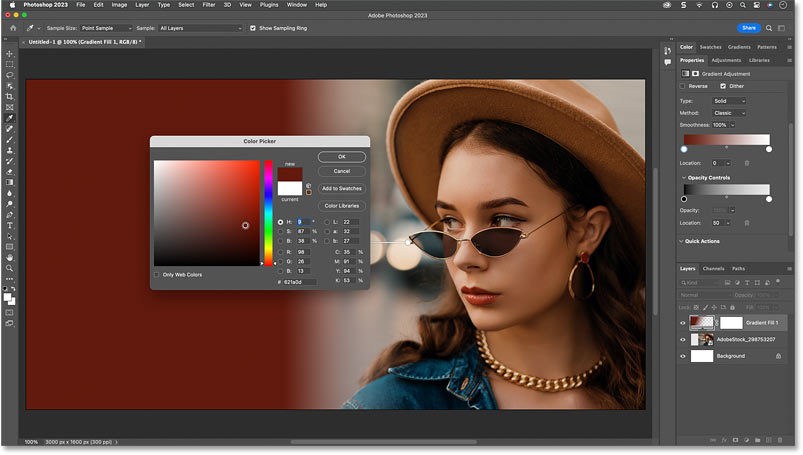
Choosing a new color from the Color Picker.
Or with the Color Picker still open, you can sample a color directly from the image.
But before you sample a color, go up to the Options Bar and make sure that the Sample Size is not set to Point Sample.
Choose something larger like 5 by 5 Average or 11 by 11 Average. This will sample the average color of the area you click on rather than the color of a specific pixel.
I’ll choose 5 by 5 Average.
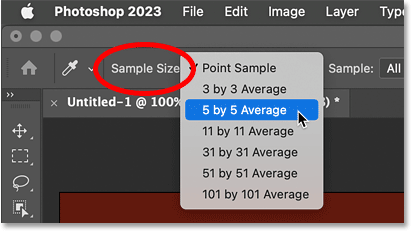
Choosing a larger sample size.
Then click on a color in the image to sample it.
I’ll choose a grayish color from the upper right.
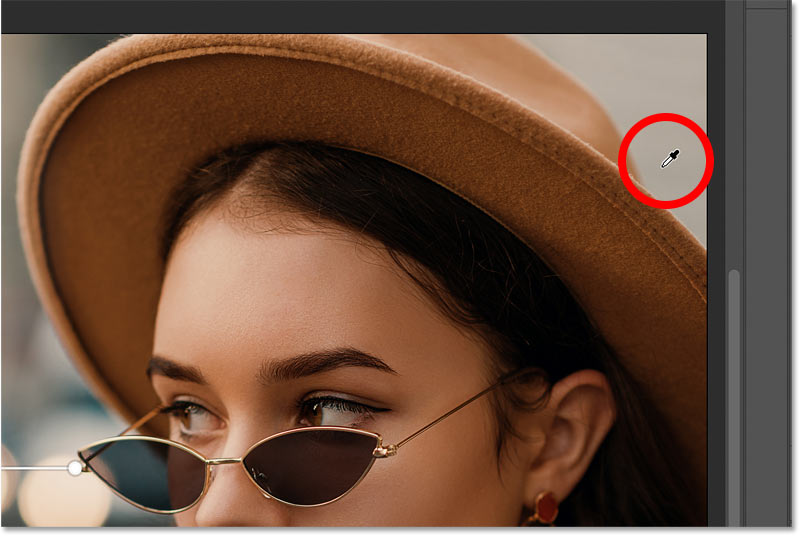
Sampling a color from the image.
Click OK to close the Color Picker, and we have our new color.
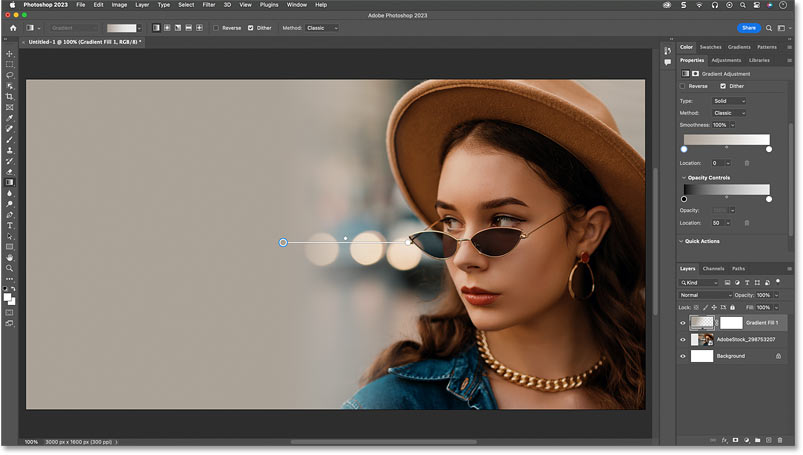
Sampling a color from the image.
After changing the color, you may want to make further adjustments to the transition area by again dragging the color stops.
Here I’m dragging the stop for the transparent side of the gradient more to the right.
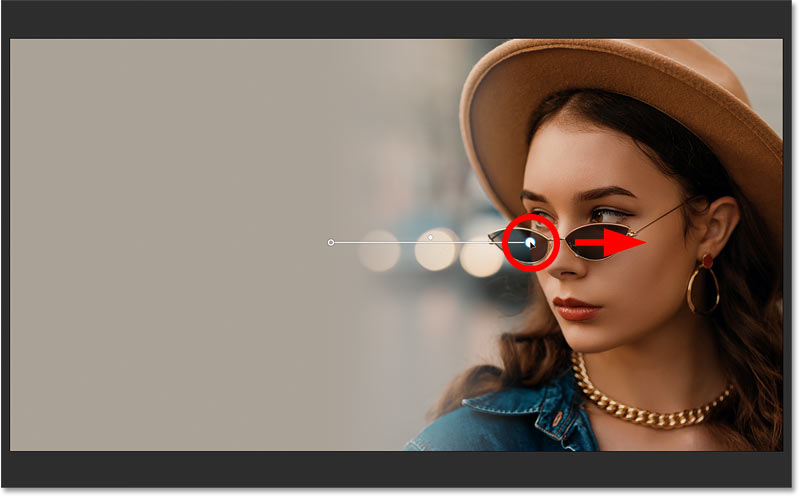
Making final adjustments to the fade area.
Step 12: Hide the live gradient controls
To view the fade effect without the live gradient controls in the way:
- switch to a different tool in the toolbar, or
- select a different layer in the Layers panel.
And to bring back the live gradient controls:
- make sure the Gradient Tool is selected in the toolbar, and
- the Gradient Fill layer is active in the Layers panel.
I’ll hide the gradient controls by selecting my image layer.
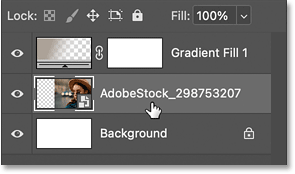
Hide the live gradient controls by selecting a different layer.
And here is my final result with the image fading into the color, ready to add text or another design element on the left.

The final result.


